Preparing for Replacement
The magnetic charging cable on your Craftsman Series vape is designed for convenience, but like any component, it can wear out over time. Knowing how to replace this cable yourself can save you money and frustration in the long run. This guide will walk you through the process step-by-step, providing clear instructions and helpful tips to ensure a successful replacement.
Gathering Tools
Before embarking on this replacement, gather the necessary tools. A small Phillips head screwdriver is essential for removing the vape’s base plate, which houses the charging port. Additionally, have a new magnetic charging cable specifically designed for your Craftsman Series vape model on hand. These cables are readily available online and at most vape supply stores.
Identifying Cable Type
Identifying the correct cable type is crucial for a seamless replacement. Your Craftsman Series vape utilizes a proprietary magnetic charging system. Look for a cable that clearly states compatibility with your specific vape model. Pay attention to the connector ends; they should match the shape and size of the charging port on your device.
Disassembling the Vape Device
Disassembling a vape device may seem daunting, but with a methodical approach and the right tools, it can be a straightforward process. Understanding the device’s components and their functions is key to safely and effectively replacing parts like the magnetic charging cable.
Removing Battery Compartment
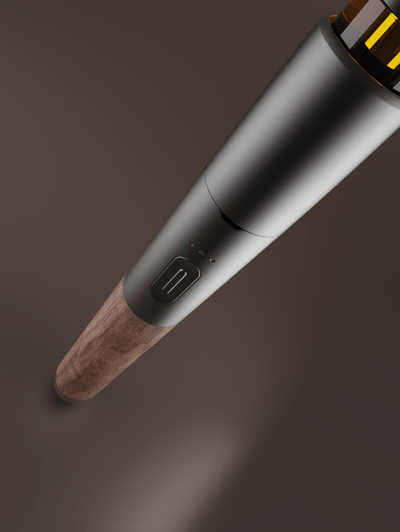
To access the battery compartment and replace the magnetic charging cable, you’ll need to carefully disassemble the vape device. Start by inspecting the base of your Craftsman Series vape for any visible screws or latches. These might be hidden under a small panel or rubber cover. Gently pry these open using a tool designed for this purpose, taking care not to scratch the device.
Once the base is open, you’ll likely see the battery compartment and the charging port. The battery compartment may be secured by clips, screws, or a combination of both. Use your Phillips head screwdriver to carefully remove any screws holding the compartment in place. If using clips, gently pry them apart with your fingers or a thin tool.
After removing the battery compartment, you’ll have access to the magnetic charging port. Disconnect the old cable by gently pulling it away from its connector. Now, carefully insert the new magnetic charging cable into the port and ensure a secure connection.
Accessing Charging Port
Reassembling the vape is the reverse of disassembly. Make sure to align the battery compartment properly and secure it with screws or clips. Replace any panels or covers you removed earlier.
Once reassembled, test the new charging cable by connecting it to a compatible charger and observing if your Craftsman Series vape begins to charge.
Removing the Old Cable
The magnetic charging cable on your Craftsman Series vape is designed for convenience but can wear out over time. Replacing this cable yourself can save you money and hassle. This guide will walk you through the process step-by-step, providing clear instructions to ensure a successful replacement.
Unplugging Magnetic Connector
To replace the magnetic charging cable on your Craftsman Series vape, follow these steps:
- Remove the old cable from the device.
- Unplug the magnetic connector from its port on the device.
Installing the New Cable
The magnetic charging cable on your Craftsman Series vape is designed for convenience, but like any component, it can wear out over time. Knowing how to replace this cable yourself can save you money and frustration in the long run.
Connecting Magnetic Connector
Before embarking on this replacement, gather the necessary tools. A small Phillips head screwdriver is essential for removing the vape’s base plate, which houses the charging port. Additionally, have a new magnetic charging cable specifically designed for your Craftsman Series vape model on hand. These cables are readily available online and at most vape supply stores.
Identifying the correct cable type is crucial for a seamless replacement. Your Craftsman Series vape utilizes a proprietary magnetic charging system. Look for a cable that clearly states compatibility with your specific vape model. Pay attention to the connector ends; they should match the shape and size of the charging port on your device.
Disassembling a vape device may seem daunting, but with a methodical approach and the right tools, it can be a straightforward process. Understanding the device’s components and their functions is key to safely and effectively replacing parts like the magnetic charging cable.
- Inspect the base of your Craftsman Series vape for any visible screws or latches. These might be hidden under a small panel or rubber cover. Gently pry these open using a tool designed for this purpose, taking care not to scratch the device.
- Once the base is open, you’ll likely see the battery compartment and the charging port. The battery compartment may be secured by clips, screws, or a combination of both. Use your Phillips head screwdriver to carefully remove any screws holding the compartment in place. If using clips, gently pry them apart with your fingers or a thin tool.
- After removing the battery compartment, you’ll have access to the magnetic charging port. Disconnect the old cable by gently pulling it away from its connector. Now, carefully insert the new magnetic charging cable into the port and ensure a secure connection.
Reassembling the vape is the reverse of disassembly. Make sure to align the battery compartment properly and secure it with screws or clips. Replace any panels or covers you removed earlier.
Once reassembled, test the new charging cable by connecting it to a compatible charger and observing if your Craftsman Series vape begins to charge.
Securing Cable in Place
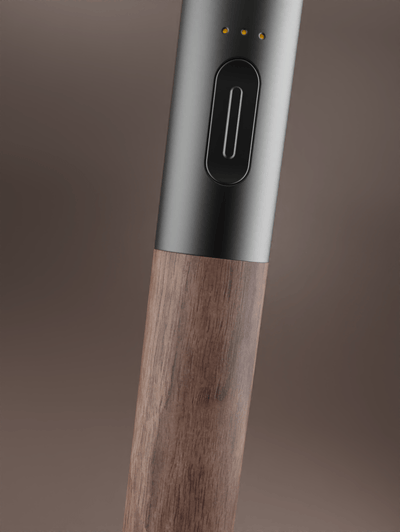
Securing the cable in place is essential for a reliable connection. Once the new cable is inserted into the charging port, ensure that it is properly aligned and seated firmly. A secure connection will prevent the cable from becoming loose or detached during use.
Reassembling the Vape Device
The magnetic charging cable on your Craftsman Series vape provides convenience, but like any component, it can wear out over time. Replacing this cable yourself is a manageable task that can save you money and frustration in the long run. This guide will walk you through the process step-by-step, ensuring a successful replacement.
Reinstalling Battery Compartment
Reassembling the vape device involves reversing the disassembly steps. Ensure the battery compartment is correctly aligned within its housing and securely fastened using screws or clips. Reattach any panels or covers that were removed earlier, making sure they fit snugly.
After reassembly, test the connection by attaching a compatible charger to the magnetic charging cable. Observe if your Craftsman Series vape begins to charge, indicating a successful replacement.
Testing Functionality
Functionality testing in software development is crucial for ensuring the quality and reliability of an application. It involves executing various tests to verify that all features work as intended and meet predefined requirements.
Different types of functionality testing exist, each focusing on specific aspects:
* **Unit Testing:** This involves testing individual units or components of code in isolation to ensure they function correctly.
* **Integration Testing:** After unit tests pass, integration testing verifies how different units interact with each other when combined.
* **System Testing:** This comprehensive test assesses the entire system as a whole, ensuring all components work together seamlessly.
* **Acceptance Testing:** Conducted by users or stakeholders, this final stage confirms that the software meets their requirements and is ready for deployment.
Functionality testing goes beyond just verifying if something works; it aims to uncover potential defects, improve code quality, and ensure a smooth user experience.
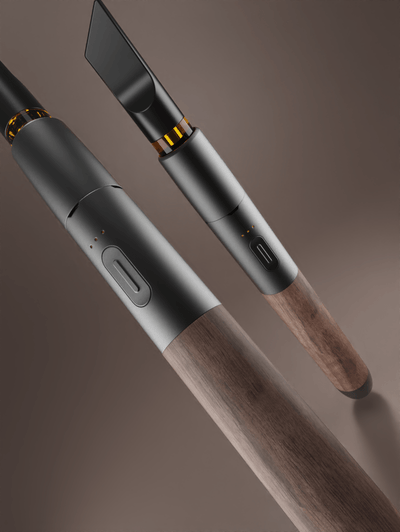
Find your signature vape with Vessel Craftsman Series today
- Does 1ml Chin Filler Make A Difference? - July 5, 2025
- Dermal Fillers Near Leatherhead, Surrey - July 2, 2025
- Dermal Fillers For Marionette Lines: Restoring A Youthful Smile - July 1, 2025